Oreo Cheesecake Truffles

So it certainly has been a while…

photo-55

All this time between posts doesn’t mean I have stopped cooking, baking or eating of course! If anything I’ve been trying out new recipes more than ever – it’s lots of fun and delicious at the same time πŸ™‚ This post may be coming a little late as Valentine’s Day was last week however don’t let the pink, red and heart shaped sprinkles fool you, these truffles are great for any occasion.

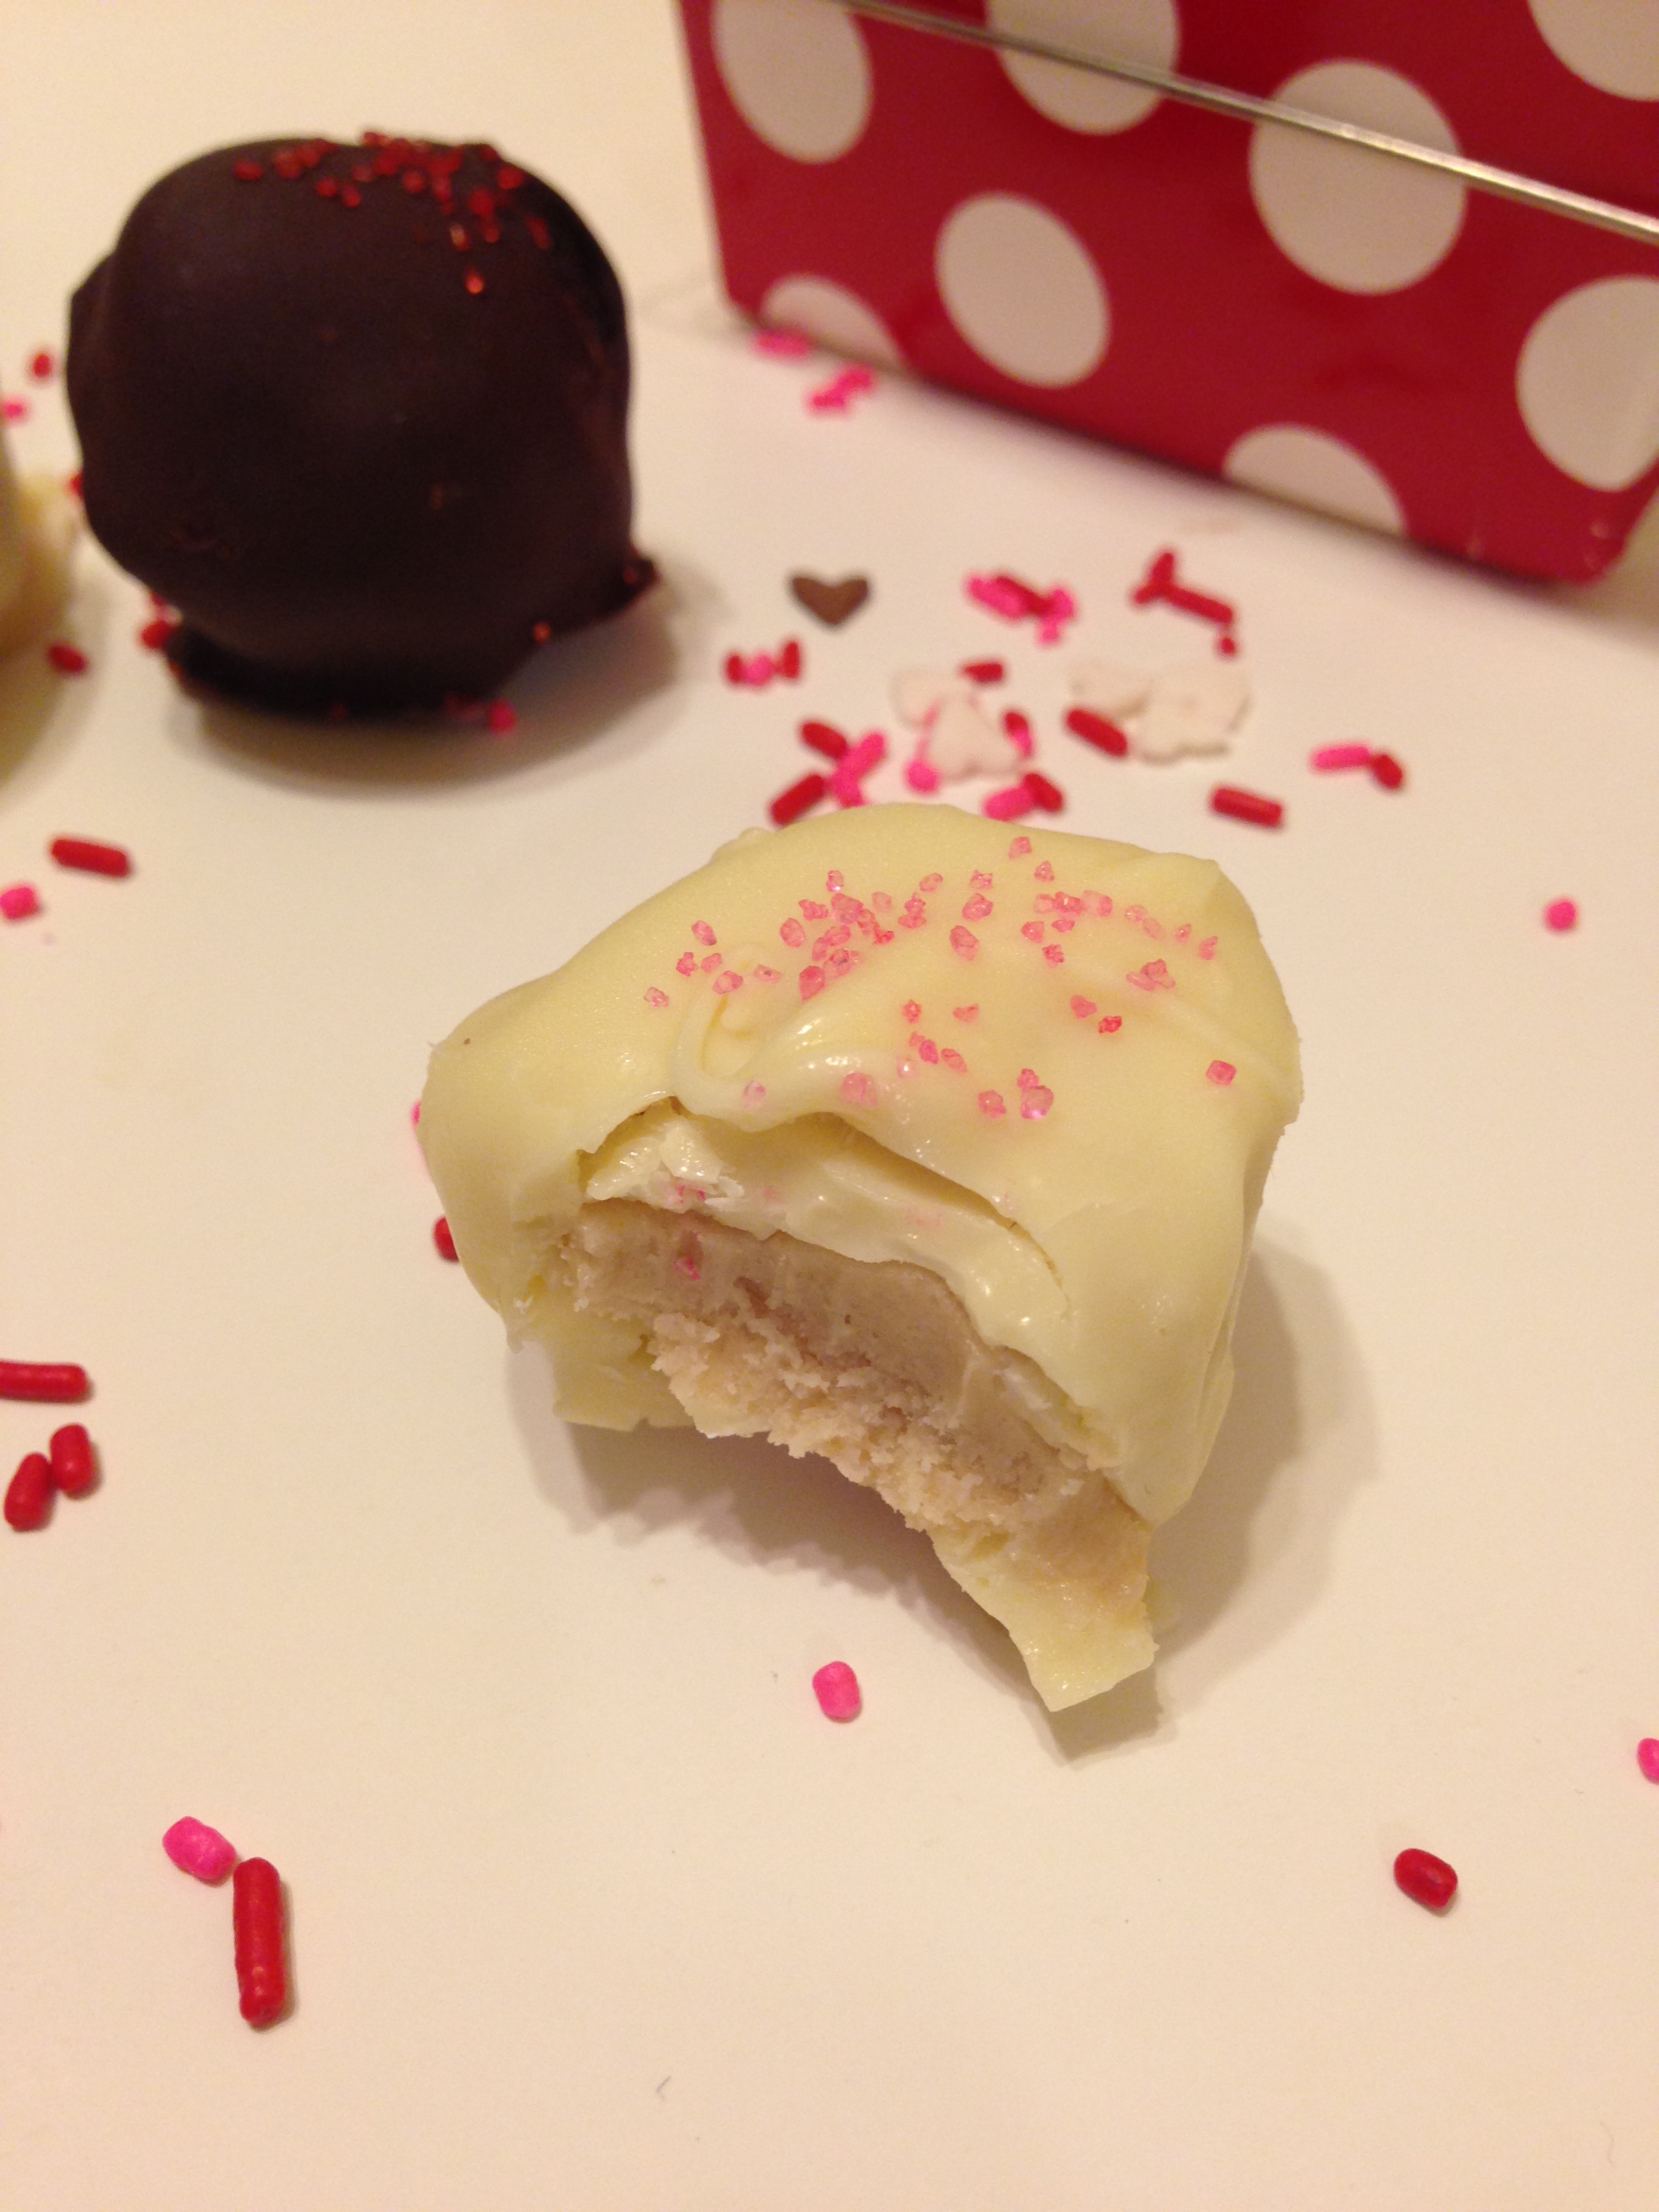
These were part of the homemade box of chocolates that I made for my Head Dishwasher. I think it was more a gift to myself though because I can’t stop eating them!

photo-53

photo-52

I am not usually one to buy pre-made cookies or candy however this recipe made it totally worth it. I’ve seen this recipe posted many times on different sites and most are the same with a list of just 3-4 ingredients, I chose to leave out the shortening which was included in some recipes and used light cream cheese as I always do – I never notice a difference! I made these with both golden oreos and reduced-fat regular oreos – I covered the golden oreos in white chocolate and the regular in semi-sweet chocolate. They certainly are decadent! I have to say I like the ones made with golden oreos a bit better but then again I am a sucker for white chocolate.

These truffles are seriously addicting and so incredibly easy – no bake and just 3 ingredients! I will definitely be making these again but maybe next time I’ll make sure I have more people to share with so I don’t eat them all πŸ™‚

photo-54

Recipe

Ingredients

  • 1 package Oreos (your choice of flavour)
  • 1 8-oz package of reduced-fat cream cheese
  • 2 cups chocolate chips (your choice of chocolate)
  • sprinkles!

Directions

  1. Line baking sheet with parchment paper.
  2. Finely chop up oreos in a food processor. Add cream cheese and puree until smooth. Refrigerate for 30 mins.
  3. Using a small cookie scoop, shape into balls about 2 tsp in size. Place on baking sheet, making sure that the balls don’t touch. Freeze for about 30 minutes until firm.
  4. Just before removing the sheet from the freezer, melt chocolate chips in microwave – stirring every 20-30 seconds careful not to burn the chocolate.
  5. Dip the cheesecake balls in the chocolate and return to baking sheet. Top with sprinkles immediately. Repeat with remaining truffles. Refrigerate for 20 mins until chocolate sets. Store in fridge. Enjoy!!

Dangerously Addictive Avalanche Bars

photo-5

I’ve developed a serious sweet tooth since I was a kid. I loved desserts but I couldn’t eat much of anything that was super sweet. At some point this changed though and I have a hard time controlling myself when it comes to really sweet treats – I’ll eat until my tummy hurts! These avalanche bars are dangerously addictive… I had to bring them to work or else I could have ate the entire pan in two days! I think half my office was on a sugar high after eating these!

I had never heard of avalanche bars until recently when I stumbled upon a few different recipes for it. What could be better than a combo of white chocolate, peanut butter, chocolate chips and marshmallows – right?? These no-bake bars are easy to make and will wow anybody with a sweet tooth!

photo-6

Ingredients

Makes 16 squares

  • 2 1/2 cups white chocolate chips
  • 1/2 cup peanut butter
  • 1 1/2 cups rice krispies
  • 1 1/2 cups mini marshmallows
  • 1/2 cup mini semi-sweet chocolate chips, frozen

Directions

  1. Line a 9×9 square pan with parchment paper.
  2. In microwave melt together white chocolate chips and peanut butter until smooth – make sure to stir every 30 seconds to avoid burning. Stir in rice krispies. Allow mixture to cool to room temperature, stirring occasionally about 10-15 minutes.
  3. Gently fold in marshmallows and the frozen chocolate chips.
  4. Press mixture into prepared baking sheet. Refrigerate until set about 20 minutes.
  5. Store in fridge. Enjoy!!

Andes Mint Chocolate Bark

DSCF2290I know it’s been a little while since I last posted, I was away for work last week then visiting my Head Dishwasher over the long weekend so I unfortunately didn’t have much time in the kitchen. I did receive some awesome gifts though while I was gone, including a book on food photography, so lets hope we see some improvements in my future posts!!

While I was away, I did have the chance to make some yummy mint chocolate bark! To be perfectly honest, I’d never heard of Andes mints until a little less than a year ago when my Head Dishwasher and I made some delicious mint chocolate cupcakes (which I will have to recreate soon)! I actually don’t even know if Andes mints are sold in Canada! Anyway, my Head Dishwasher’s kitchen is a little bare, so I chose to make this bark which only has 3 ingredients, chocolate, chocolate and more chocolate!

I was excited to see Ghirardelli chocolate at the grocery store, which I have read about on various baking blogs, but never have been able to use it, as it isn’t available here!

DSCF2277

This is an extremely easy recipe, that yields a delicious result! I could barely wait until it was set and then ate so much of it that I felt sick! Now I’m regretting that I didn’t bring any home with me!!

DSCF2297

Ingredients

  • 4 cups white chocolate chips
  • 2 cups semi sweet chocolate chips
  • 1 package Andes mints, coarsely chopped
  • Green Food colouring

Directions

  1. Line baking sheet with aluminum foil.
  2. In microwave, melt white chocolate chips, stirring every 30 seconds until melted, making sure not to burn. Stir in a few drops of green food colouring. Pour onto prepared baking sheet and spread evenly to the edges. Refrigerate for 15 minutes or until set.
  3. Once again, in microwave, melt semisweet chocolate chips, stirring every 30 seconds until melted. Pour onto baking sheet and spread to evenly cover white chocolate layer. Sprinkle with Andes mints, making sure to gently press them into the chocolate.
  4. Refrigerate for another 15 minutes or until set. Break into pieces. Enjoy!

Super Easy Chocolate Toffee Brittle

DSCF2216

If you need a quick and easy dessert that will undoubtedly impress your friends and family, then this recipe is for you! This brittle can be made in under 20 minutes and requires few ingredients. The secret to this recipe is saltine crackers! While the crackers make up about half of the brittle, you won’t even be able to tell that they’re there!

I have made this recipe countless times, and each time I marvel at the fact that the brittle is delicious, yet soooo easy to make! I prefer the simple version of this recipe with semi-sweet chocolate as the only topping, but I’m sure white chocolate would also be amazing!! You can add chopped nuts on top if you wish, but make sure to gently push them into the melted chocolate or else they may fall off once set. You can wrap this chocolate toffee brittle up into little gifts, bring it to potlucks or even just have for yourself as a tasty snack! Sometimes I make sure to buy double the ingredients required in case I eat the entire first batch and need to make a second one πŸ™‚

Ingredients

  • 1 cup butter
  • 1 cup brown sugar
  • 35-40 saltine crackers
  • 2 cups semi sweet chocolate chips

Directions

  1. Preheat oven to 350 F.Β Line cookie sheet with aluminum foil and lay out saltine crackers until tray is fully covered.
  2. Combine butter and brown sugar and melt in microwave or over the stove until mixture begins to bubble, making sure to stir often. Pour sugar mixture over sheet of saltine crackers and ensure that all crackers are fully covered. Place tray in oven and cook for 10-12 minutes or until sugar mixture is dark brown and bubbling. Be careful not to burn!! Remove tray and immediately distribute chocolate chips over the bubbling mixture. Gently spread chocolate chips until melted and completely covering all crackers. At this time add any additional toppings if desired.
  3. Place tray in the fridge for about an hour until cooled and chocolate is set. Break into pieces. Enjoy!!